Introduction
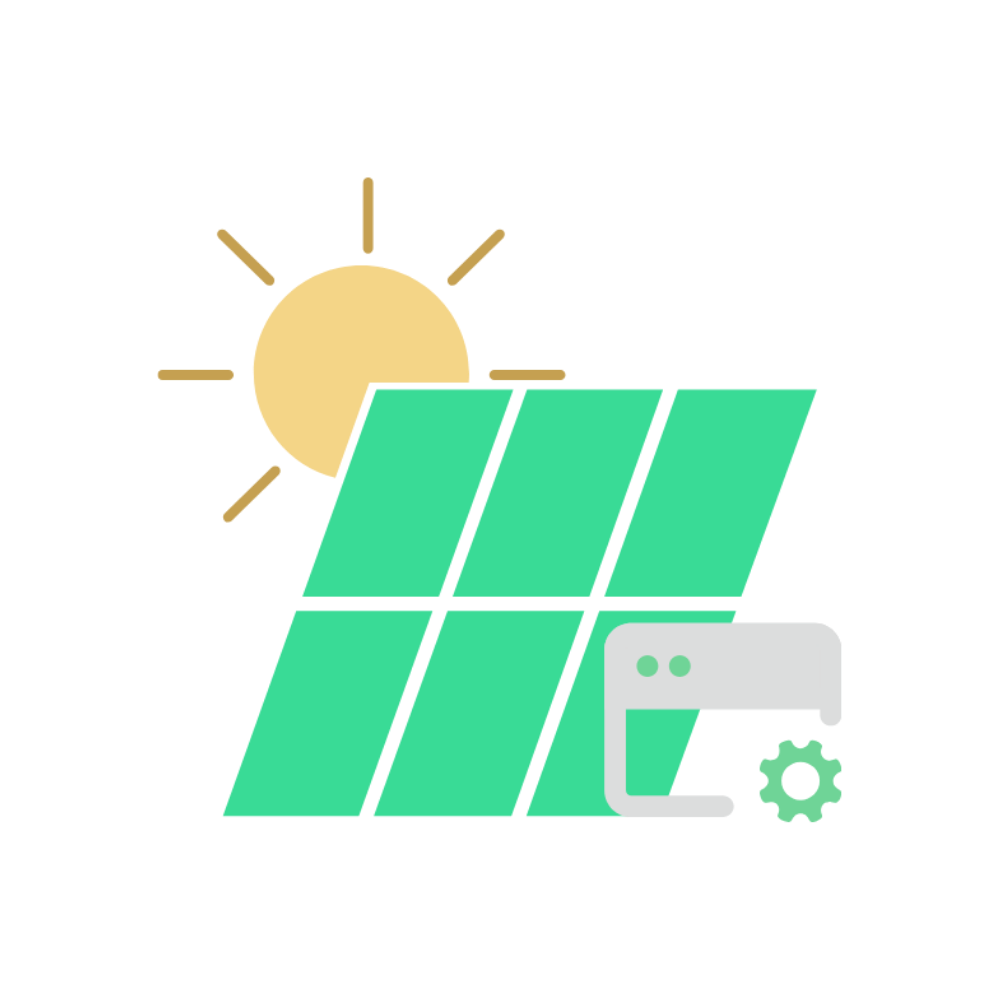
Building a remote, solar-powered surveillance system is a great way to monitor construction sites, rural farms, or parking lots. However, standard solar charge controllers require manual wiring to batteries, voltage steps, and individual switches.
Linovision simplifies this process with their MPPT Solar PoE Switches, which combine a solar charge controller and a voltage booster into a single industrial metal enclosure. In this tutorial, we will walk you through the exact steps to build your own off-grid surveillance rig from scratch.
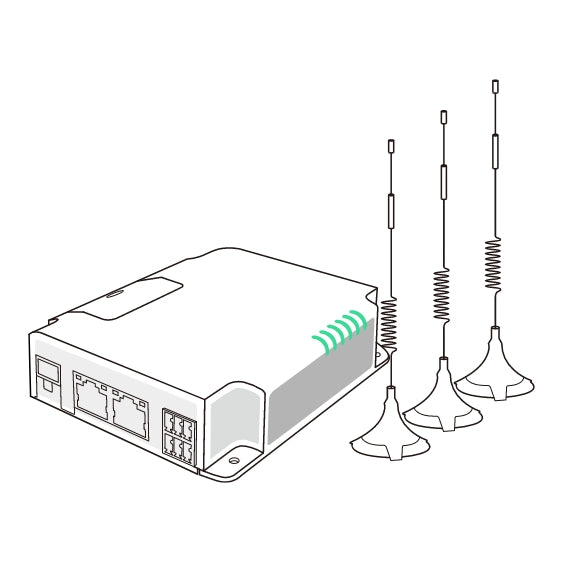
The Linovision integrated MPPT charge controller and PoE booster switch inside an industrial casing.
Required Components
Before beginning the installation, ensure you have gathered all necessary hardware:
| Component | Specifications | Purpose |
|---|---|---|
| Solar Panel | 100W or 200W Monocrystalline (18V-36V) | Captures solar energy. |
| Battery Bank | 12V or 24V LiFePO4 (50Ah to 100Ah) | Stores power for nighttime and cloudy days. |
| Solar PoE Switch | Linovision POE-S480G (4-Port MPPT) | Regulates solar charging and powers 48V PoE cams. |
| Weatherproof Box | IP66 NEMA enclosure (Steel or Polycarbonate) | Houses the battery and switch. |
| IP Camera / Bridge | Standard 48V PoE IP Camera + Wireless Transceiver | Captures video and transmits signal to NVR. |
System Architecture Diagram
The layout below outlines the wiring and flow of power from the solar panel to the final PoE devices. Note how the Linovision switch serves as the central hub:
           [ Solar Panel (100W/200W) ]
                       │
                       ▼ (MC4 / Raw Copper PV Wire)
   ┌───────────────────────────────────────────────┐
   │          LINOVISION SOLAR POE SWITCH          │
   │                                               │
   │  [ PV +/- ]   [ BAT +/- ]   [ POE OUT PORTS ] │
   └──────┬─────────────┬──────────────┬──────┬────┘
          │             │              │      │
          ▼             ▼              ▼      ▼
    [LiFePO4 Battery] [Load Switch] [IP Cam] [Wireless Bridge]
Step-by-Step Installation
Step 1: Enclosure Assembly
First, mount the NEMA weatherproof enclosure on your pole or wall. Place a backplate inside the enclosure. Secure the Linovision POE-S480G switch using standard DIN rail brackets to allow easy component swapping. Position the battery at the bottom of the enclosure to maintain a low center of gravity.
Step 2: Connect the Battery First (CRITICAL)
Always connect the battery to the switch before connecting the solar panels. This enables the integrated charge controller to auto-detect system voltage (12V or 24V) and safely boot the networking CPU.
Use 10 AWG copper wires with inline fuse holders (20A fuse recommended on the positive lead) to connect the battery terminals to the BAT + and BAT - terminals on the Linovision switch.
Step 3: Wire the Solar Panel
Secure your solar panel to the top of your pole or trailer mast, angling it toward the sun. Run outdoor-rated PV cable through water-tight cable glands at the bottom of the NEMA enclosure.
Connect the positive solar lead to the PV + terminal and the negative lead to the PV - terminal on the switch.
Step 4: Install and Connect PoE Devices
Mounting the outdoor-shielded wireless bridge alongside the IP security cameras.
Run standard outdoor-shielded Cat5e/Cat6 Ethernet cable from your IP camera and wireless transceiver into the enclosure. Connect these cables to the RJ45 PoE Ports on the Linovision switch.
The switch boosts the 12V/24V battery supply up to 48V PoE dynamically, supplying both power and gigabit data to the camera and wireless bridge.
Step 5: Configure Thresholds & Boot up
Access the Linovision local configuration GUI (default IP: 192.168.1.100) using a laptop connected to an open port.
Set the battery type to LiFePO4. Configure the Low-Voltage Cutoff (LVD) to 11.5V (for 12V batteries) to prevent over-discharging during severe weather, and set the recovery threshold to 12.5V to auto-boot once the panels catch daylight.
Maintenance Tips
To ensure uninterrupted operation, check the following once a year:
- Clean Panels: Dust or pollen build-up can drop panel charging efficiency by up to 25%.
- Tighten Terminals: Vibration from wind or road travel (on mobile trailers) can loosen copper terminals.
- Inspect Seals: Ensure NEMA rubber gaskets remain soft and water-tight to prevent humidity damage.